I have made many things in the past week, most of which I do not have pictures of, thanks to me sleeping through most of the sunlight or being at work AND the power going out in my room. (Seriously.)
So some things will have to wait.
Good thing I was prepared though and did this nifty tutorial ahead of time.
How to:
TA-DA!
Make your own lino cut artwork. (Part 1)
Honestly it is pretty simple to do once you know a few tricks.
First thing you need to do is gather materials.

Here are the materials:
Speedy cut stamp block (not the technical term) p.s. the link is for a bigger size…mine is 4.5 by 6.5 inches!
Speedball lino carver (again, not technical term!)
Pencil—-definitely the technical term, or, frindle, if you prefer 🙂
Design—-possibly technical.
I am lucky enough to have these available at my local art store, but if there’s not one near you, click on the links to see where you can pick this stuff up.
I do use both of the speedy stamp carving ones, the white and the pink ones, though the pink ones are tougher to carve, and, therefore, hold up better. I think the difference is a few bucks, but
here’s a tip!
You can use BOTH SIDES of the block as long as you don’t carve too deeply. I’ve been doing this with mine all along, because I”m cheap and resourceful and thought,
“Why not?”
Less blocks you have to store.
As far as a design goes, you don’t have to do words, but I just like to. I also like doing the border because I have found it gives the roller a place to sort of “land” after going over the letters, and makes for less carving. More on that later.
First step is to take your drawing and get it ready to transfer over to the block.
There may be many ways to do this, but I’ve got an easy way.
First, you have to figure out what parts you want to show up on your final print.
Color those parts in with pencil.
For instance, I want the letters to be showing, NOT the background so,

I start coloring it in. This won’t take long, and it’s really fun! I mean, who doesn’t love coloring?
Soon you are done.
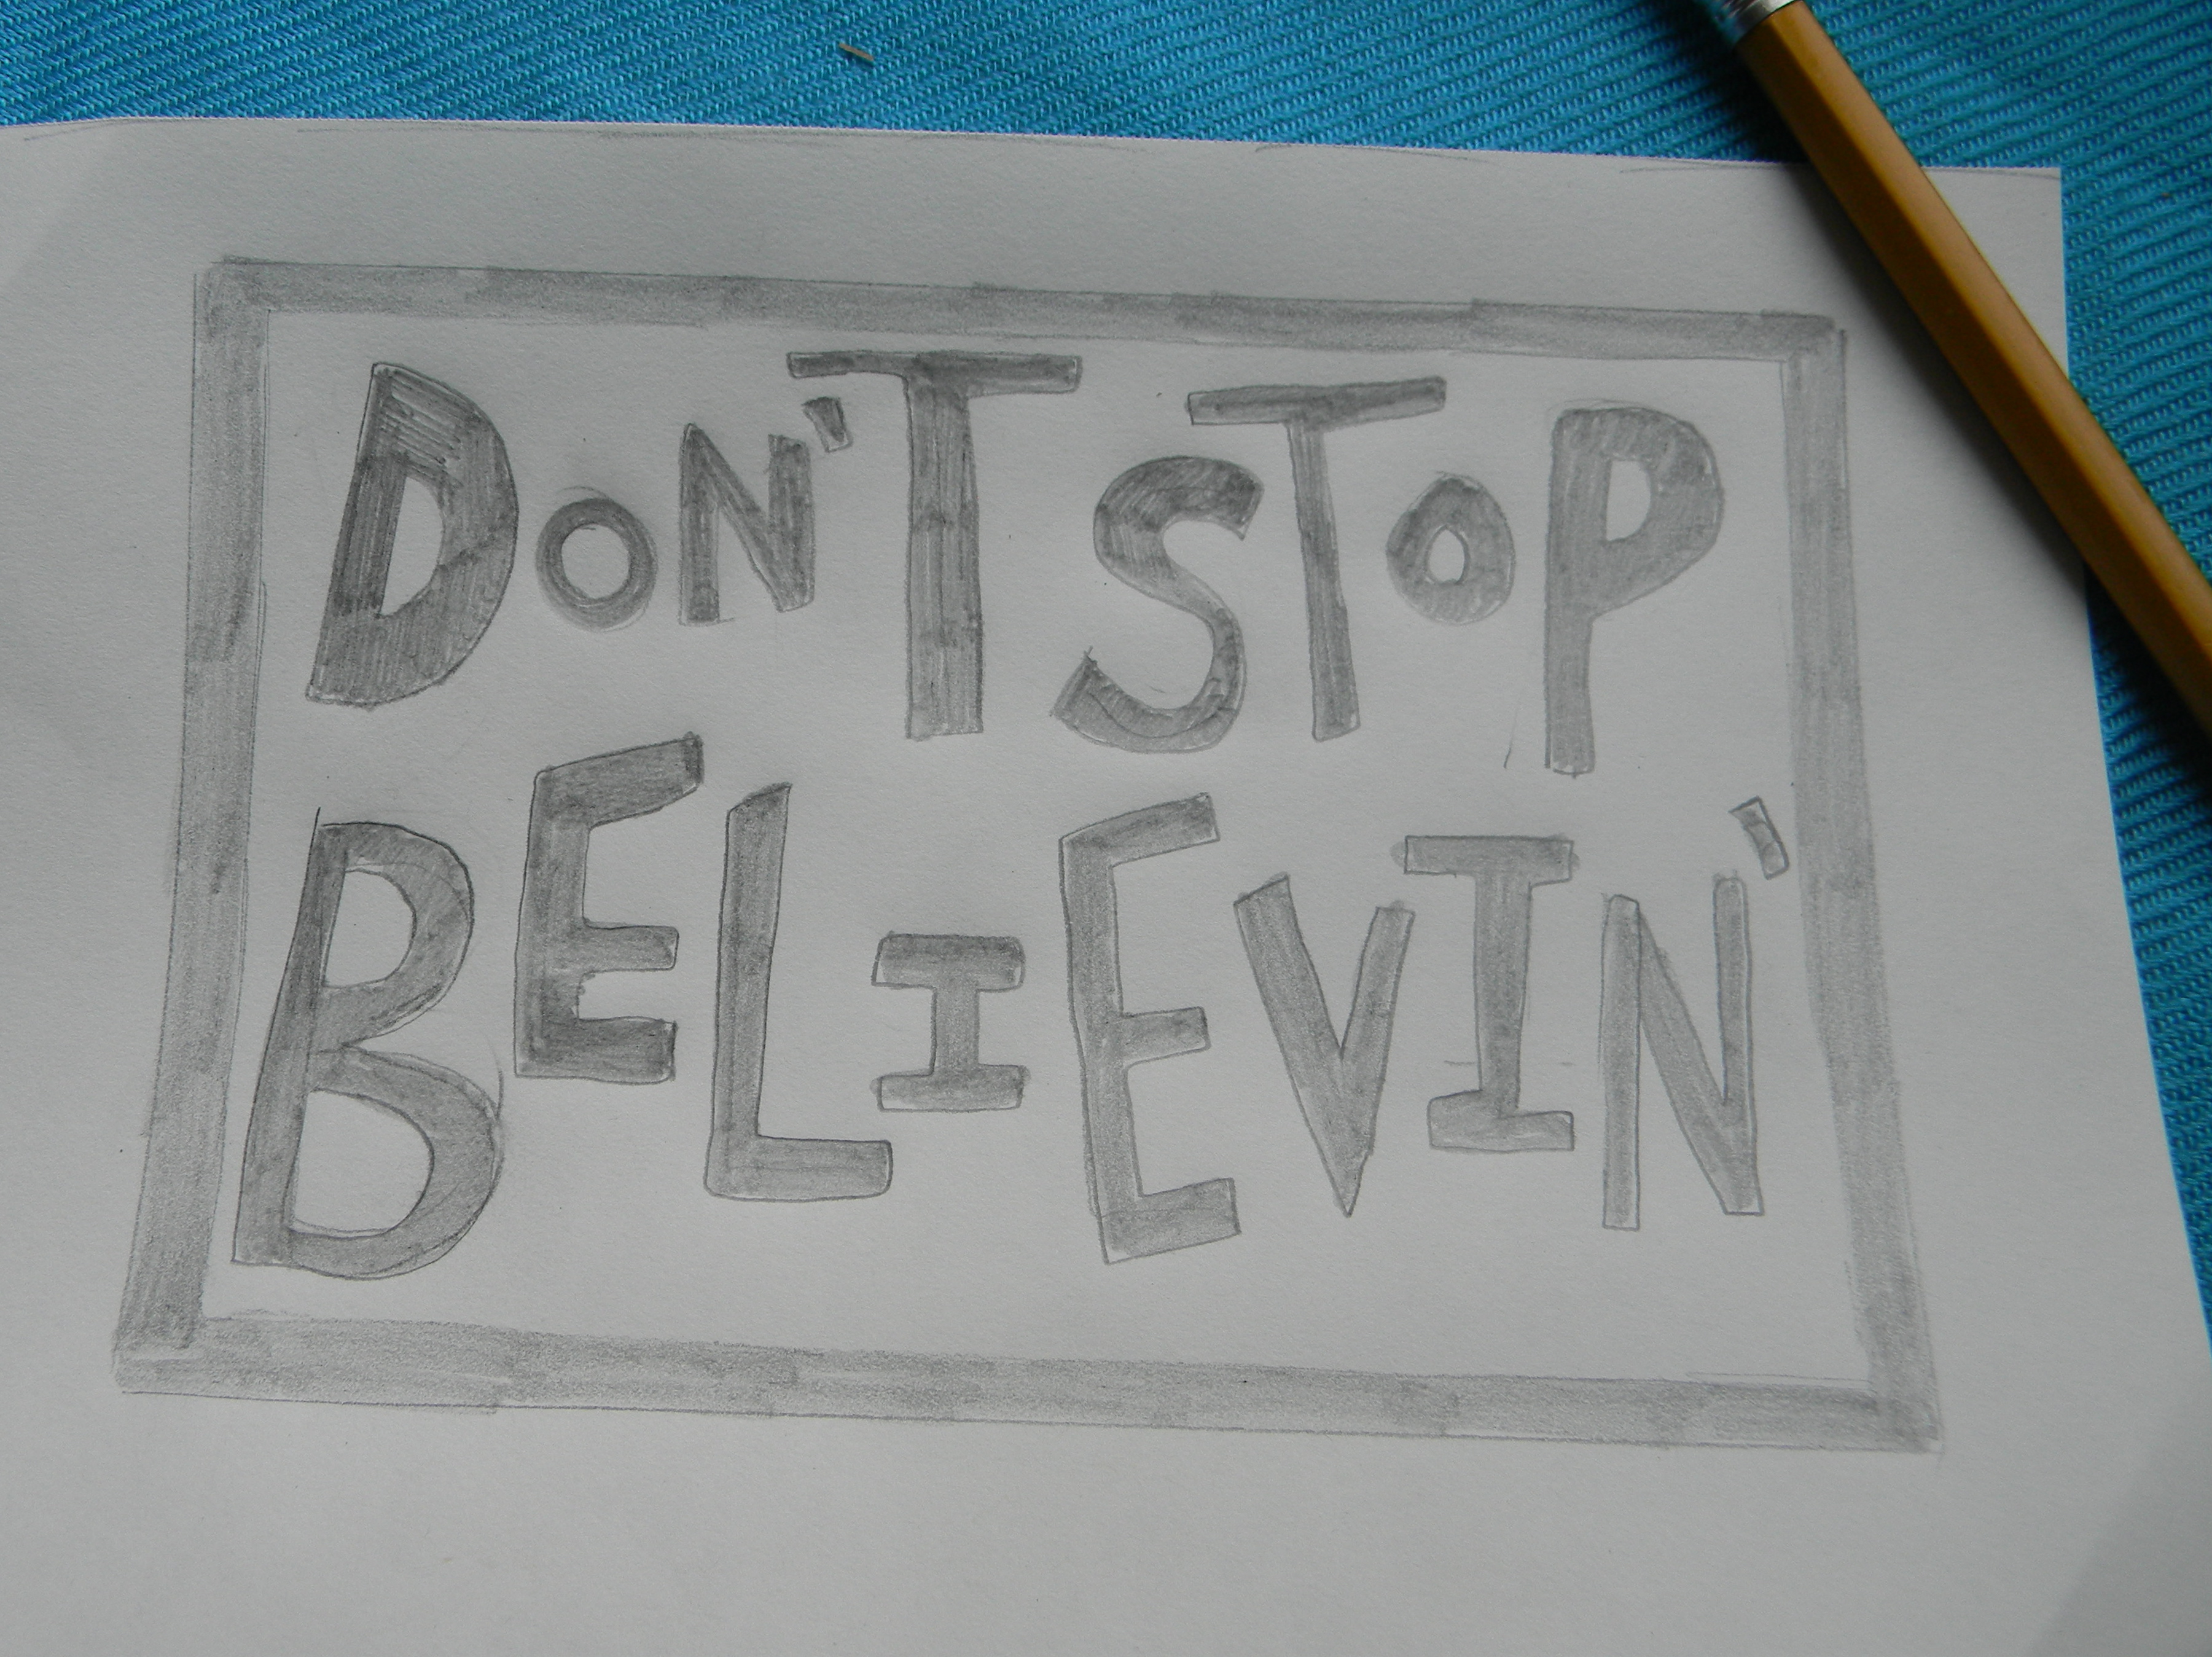
Now that you have the finished design ready, you place it FACE DOWN on the block. Make sure you really line it up so it fits the way you want it to fit.
So the side you just colored is going to be facing the block, so an empty white side is facing you.
Once this has happened, take that same pencil and color over the back of your drawing.
Scribble time!!

This part is fun too! Scribbling!
Be careful not to move the design around too much.
Once you have carefully completed this task, you can lift off your drawing, and you will end up with something like this:

But why is is backwards?
YOU WANT it to be backwards, so when you put ink on it and pull the paper off (part 2 people, part 2) it will turn out looking the right way.
This is important to keep in mind with words, but with pictures too.
This is why this way is a good way to transfer over your design.
I suppose people can write backwards, but I like my forward writing so much better!
Once this is done, you are going to start carving.
All the dark spots are the spots you don’t want to touch, and all the spots with no pencil are the spots you are going to carve out.
Start carving with the smallest size carving attachment:
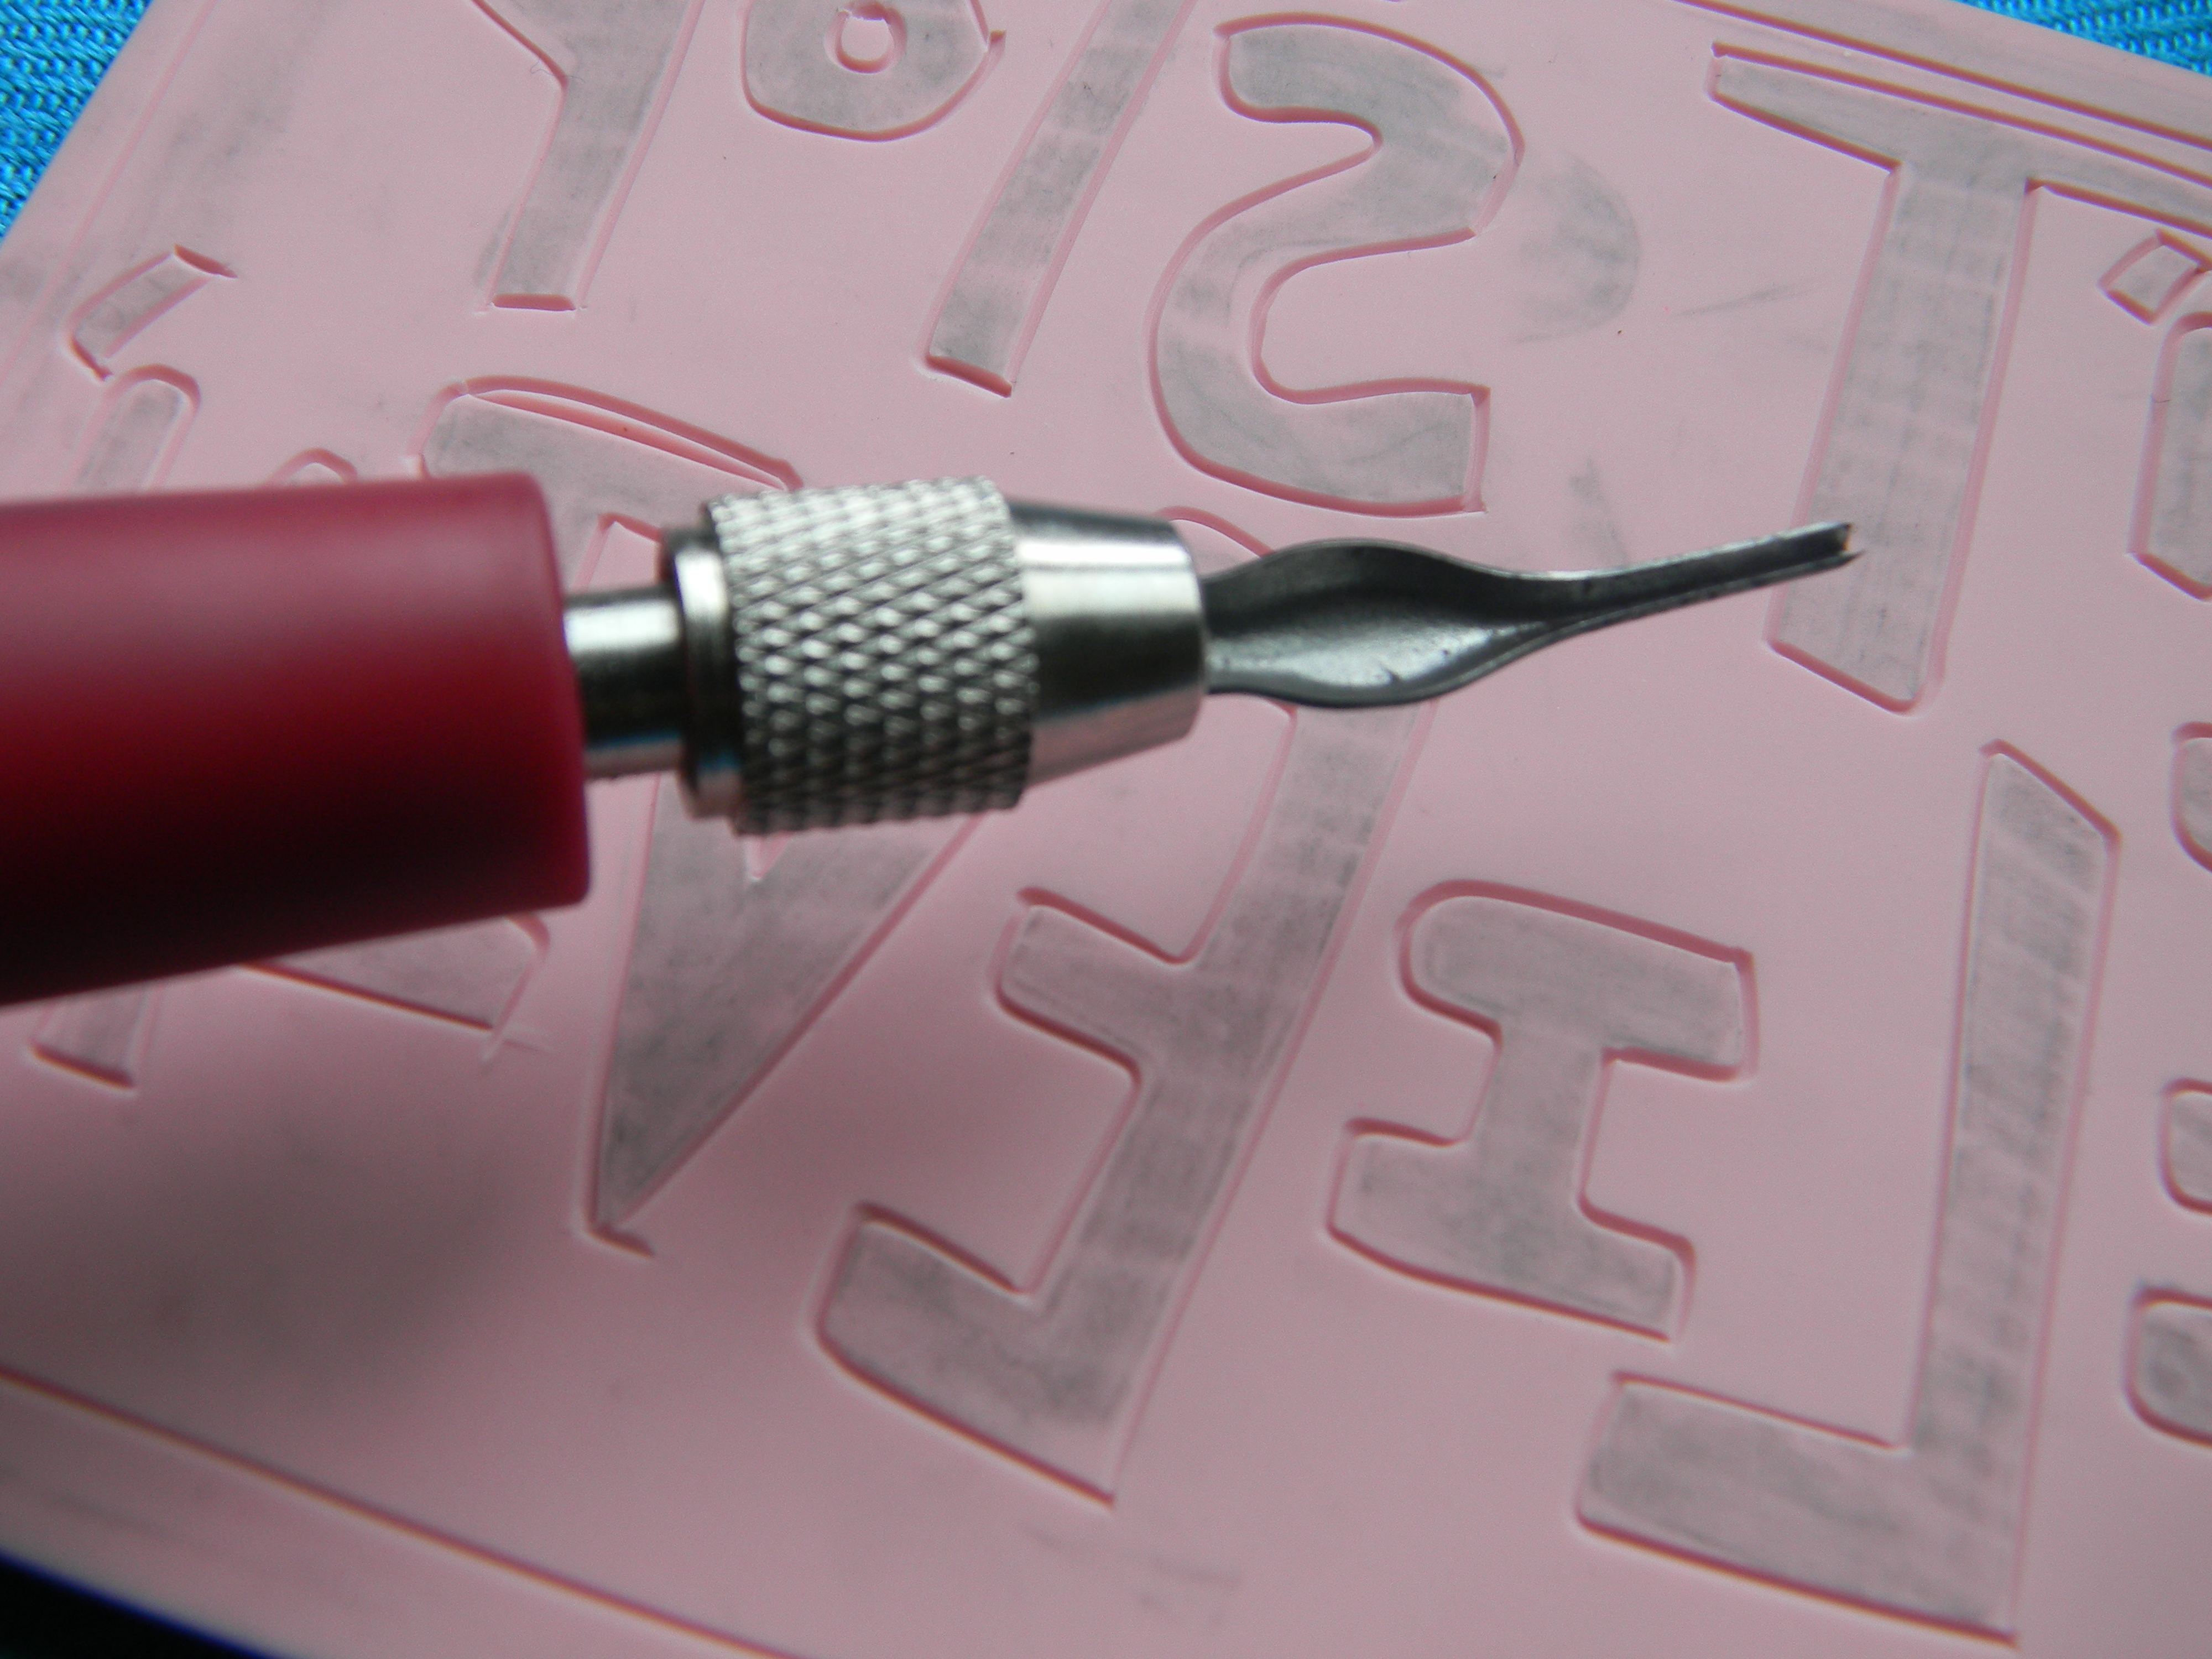
With the small size, trace around the letters. I like to do this so when I’m carving with the bigger size, I don’t take off the top of a letter by mistake. Not that that is a huge problem; it’s just you will end up making something a little different than what you intended to make!
So start outlining with the little tip:
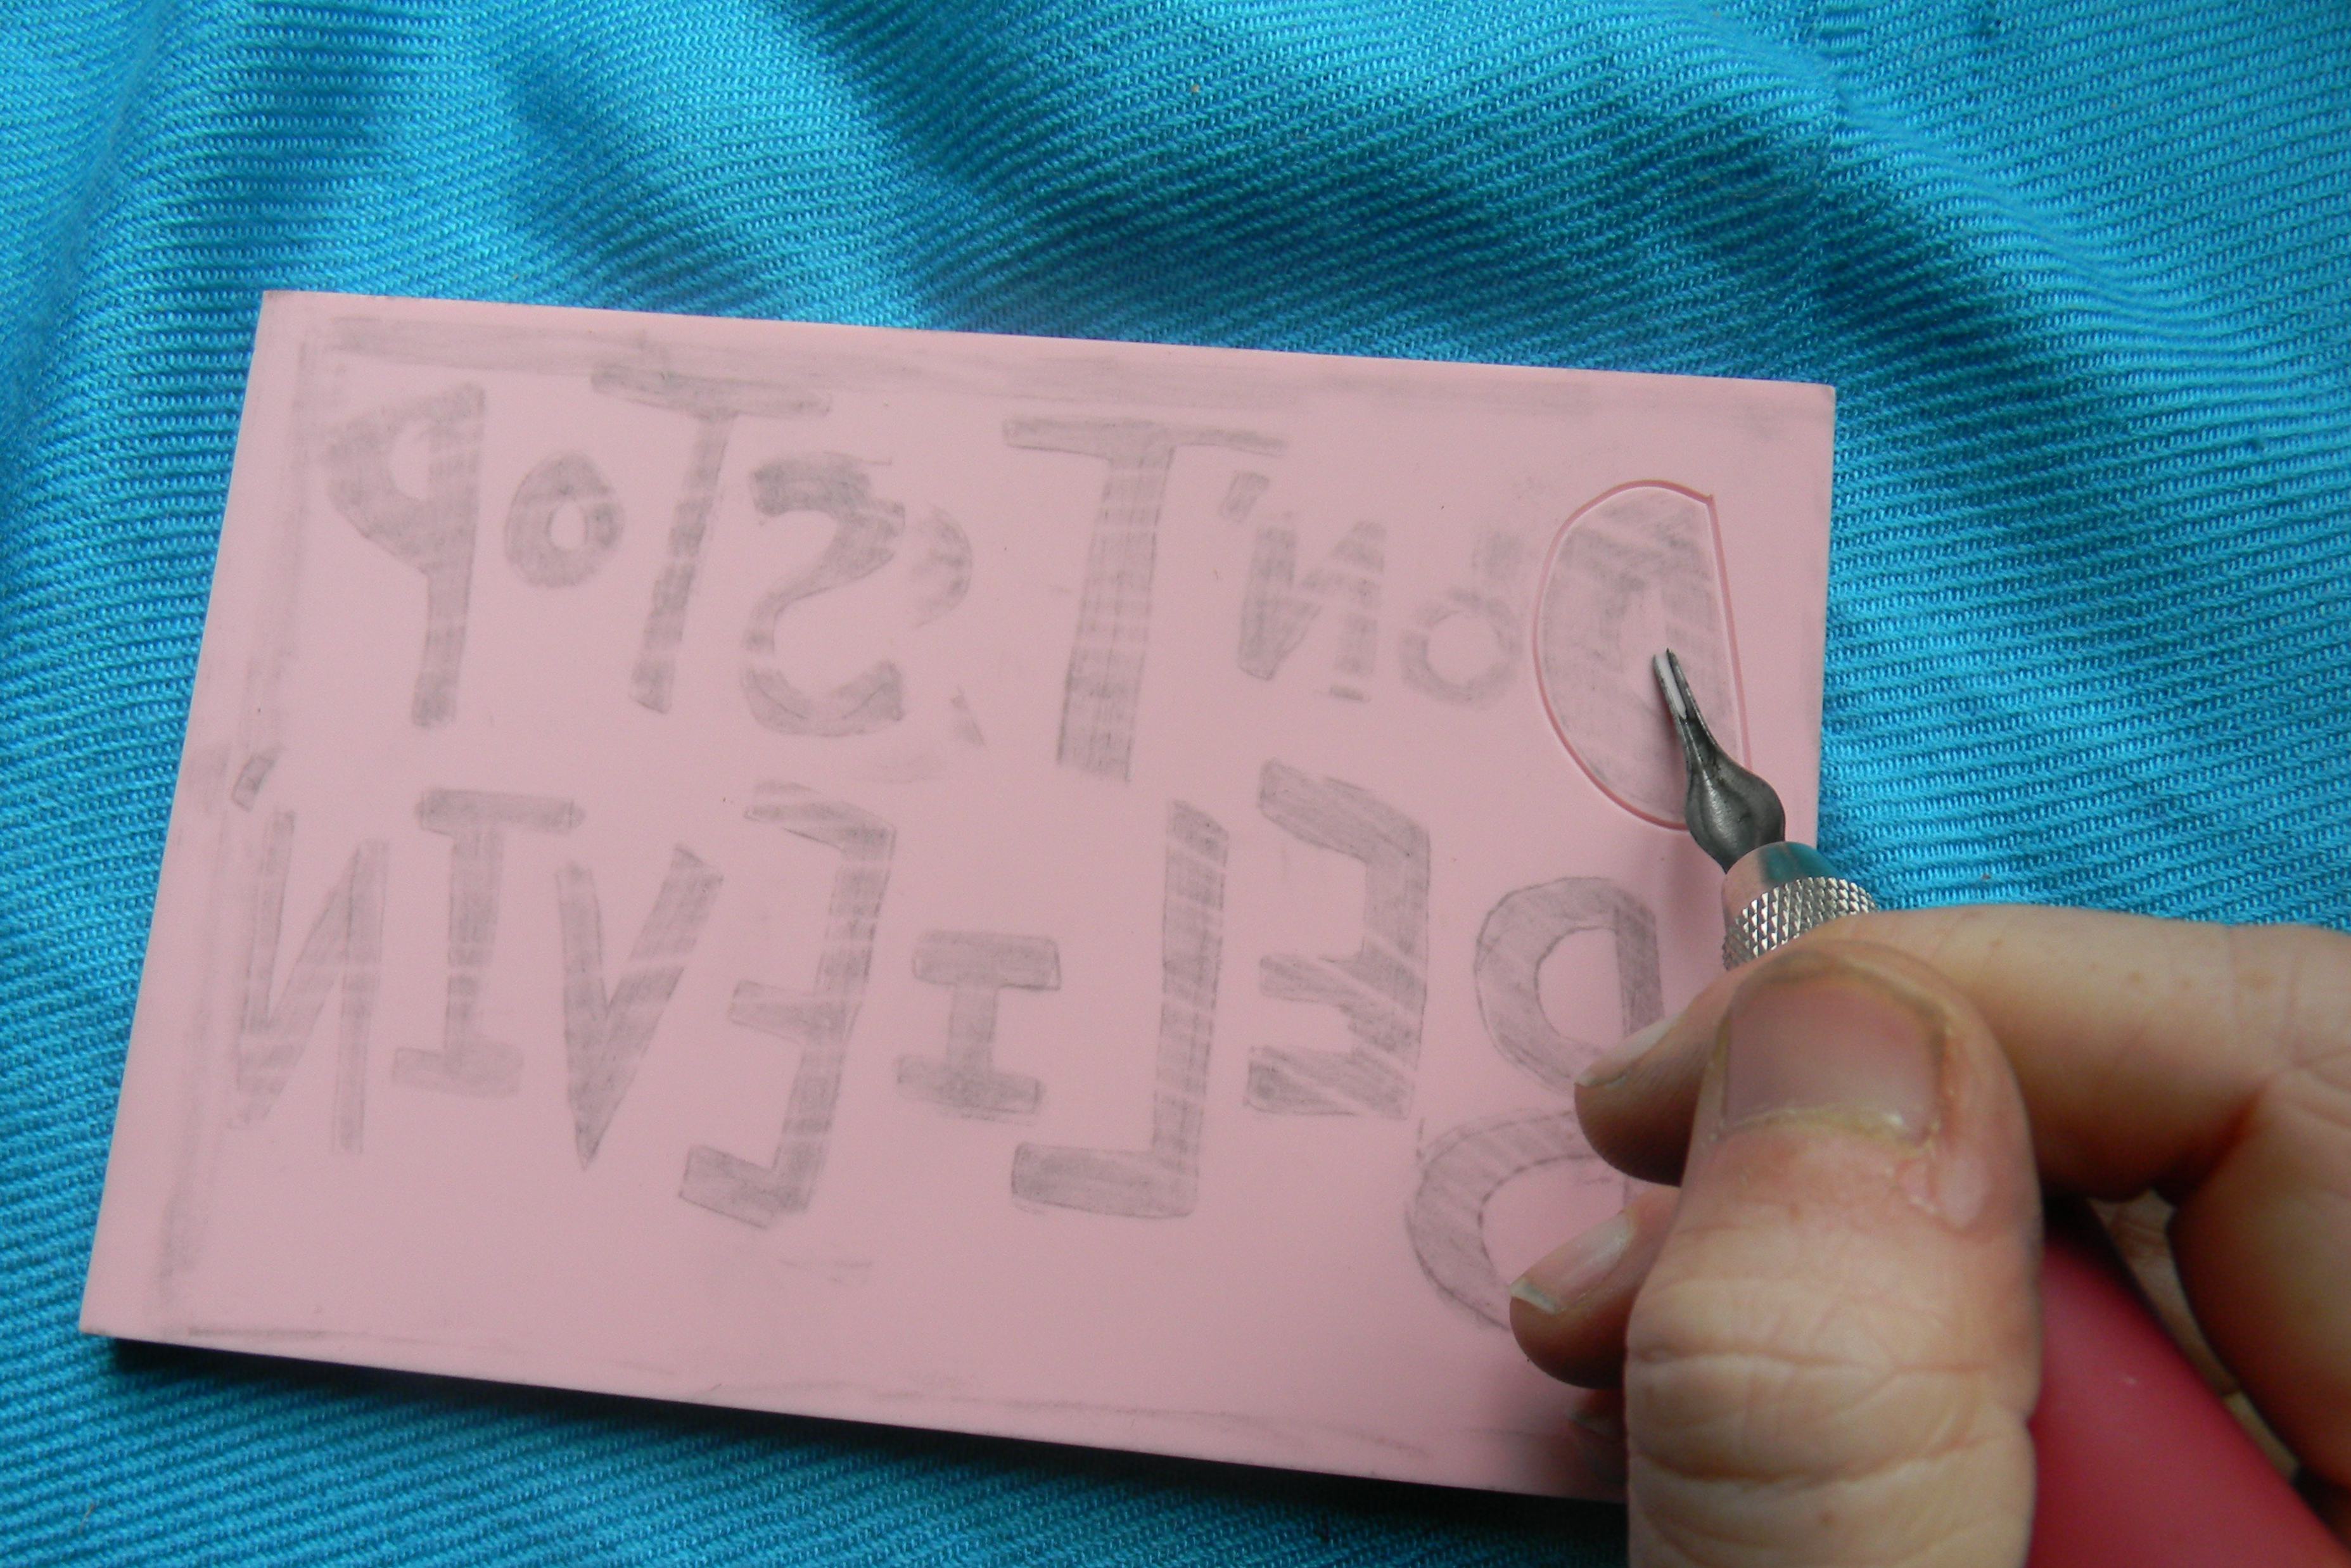
and keep going until you are all done with the outlining. This shouldn’t take long, but be careful!
HELPFUL TIP: When you are going around in curves and such, MOVE THE BLOCK instead of forcing the tool all the way around. That being said, make sure you have enough room around your workspace to rotate the block as needed.

Now that you are done with the outlining, switch to the larger size tool. It scoops out a nice half circle. There are other ones, but I like this one the best. The others cut out more of a trench style cut, and this one is more of a, I don’t know, ditch? Does that even make sense?
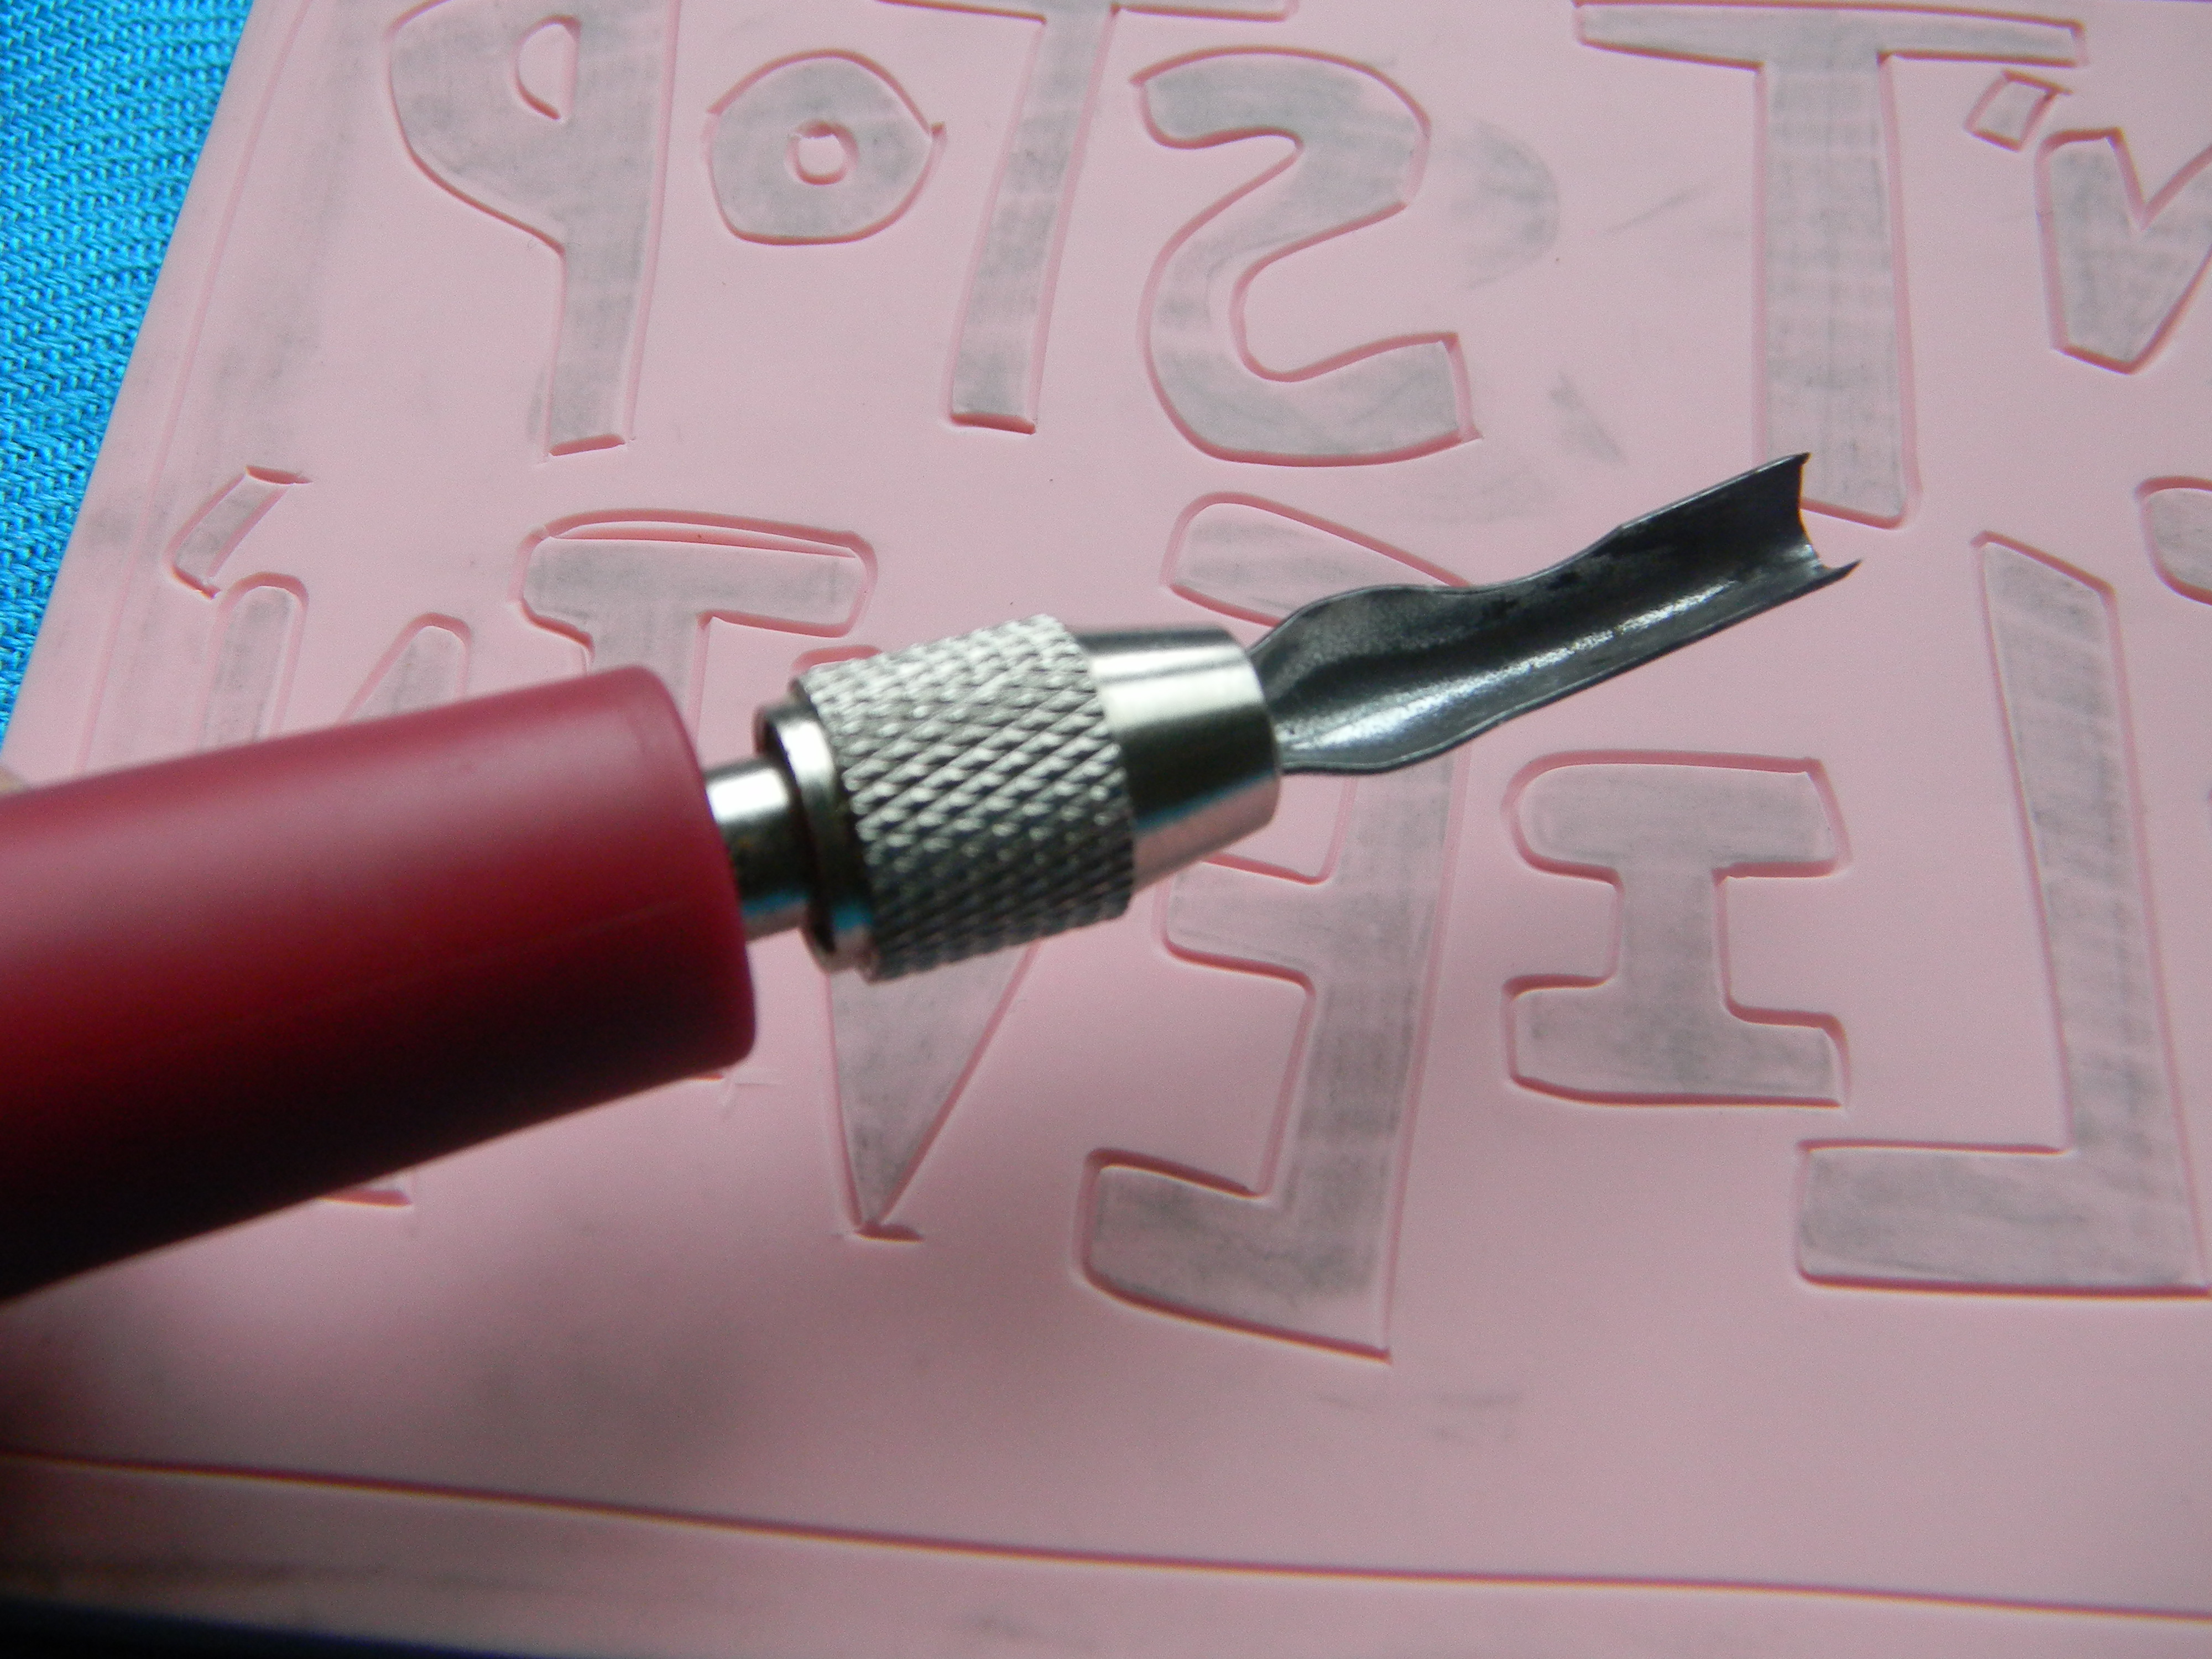
This one can make some serious cuts. Aren’t you glad you made those outlines now?
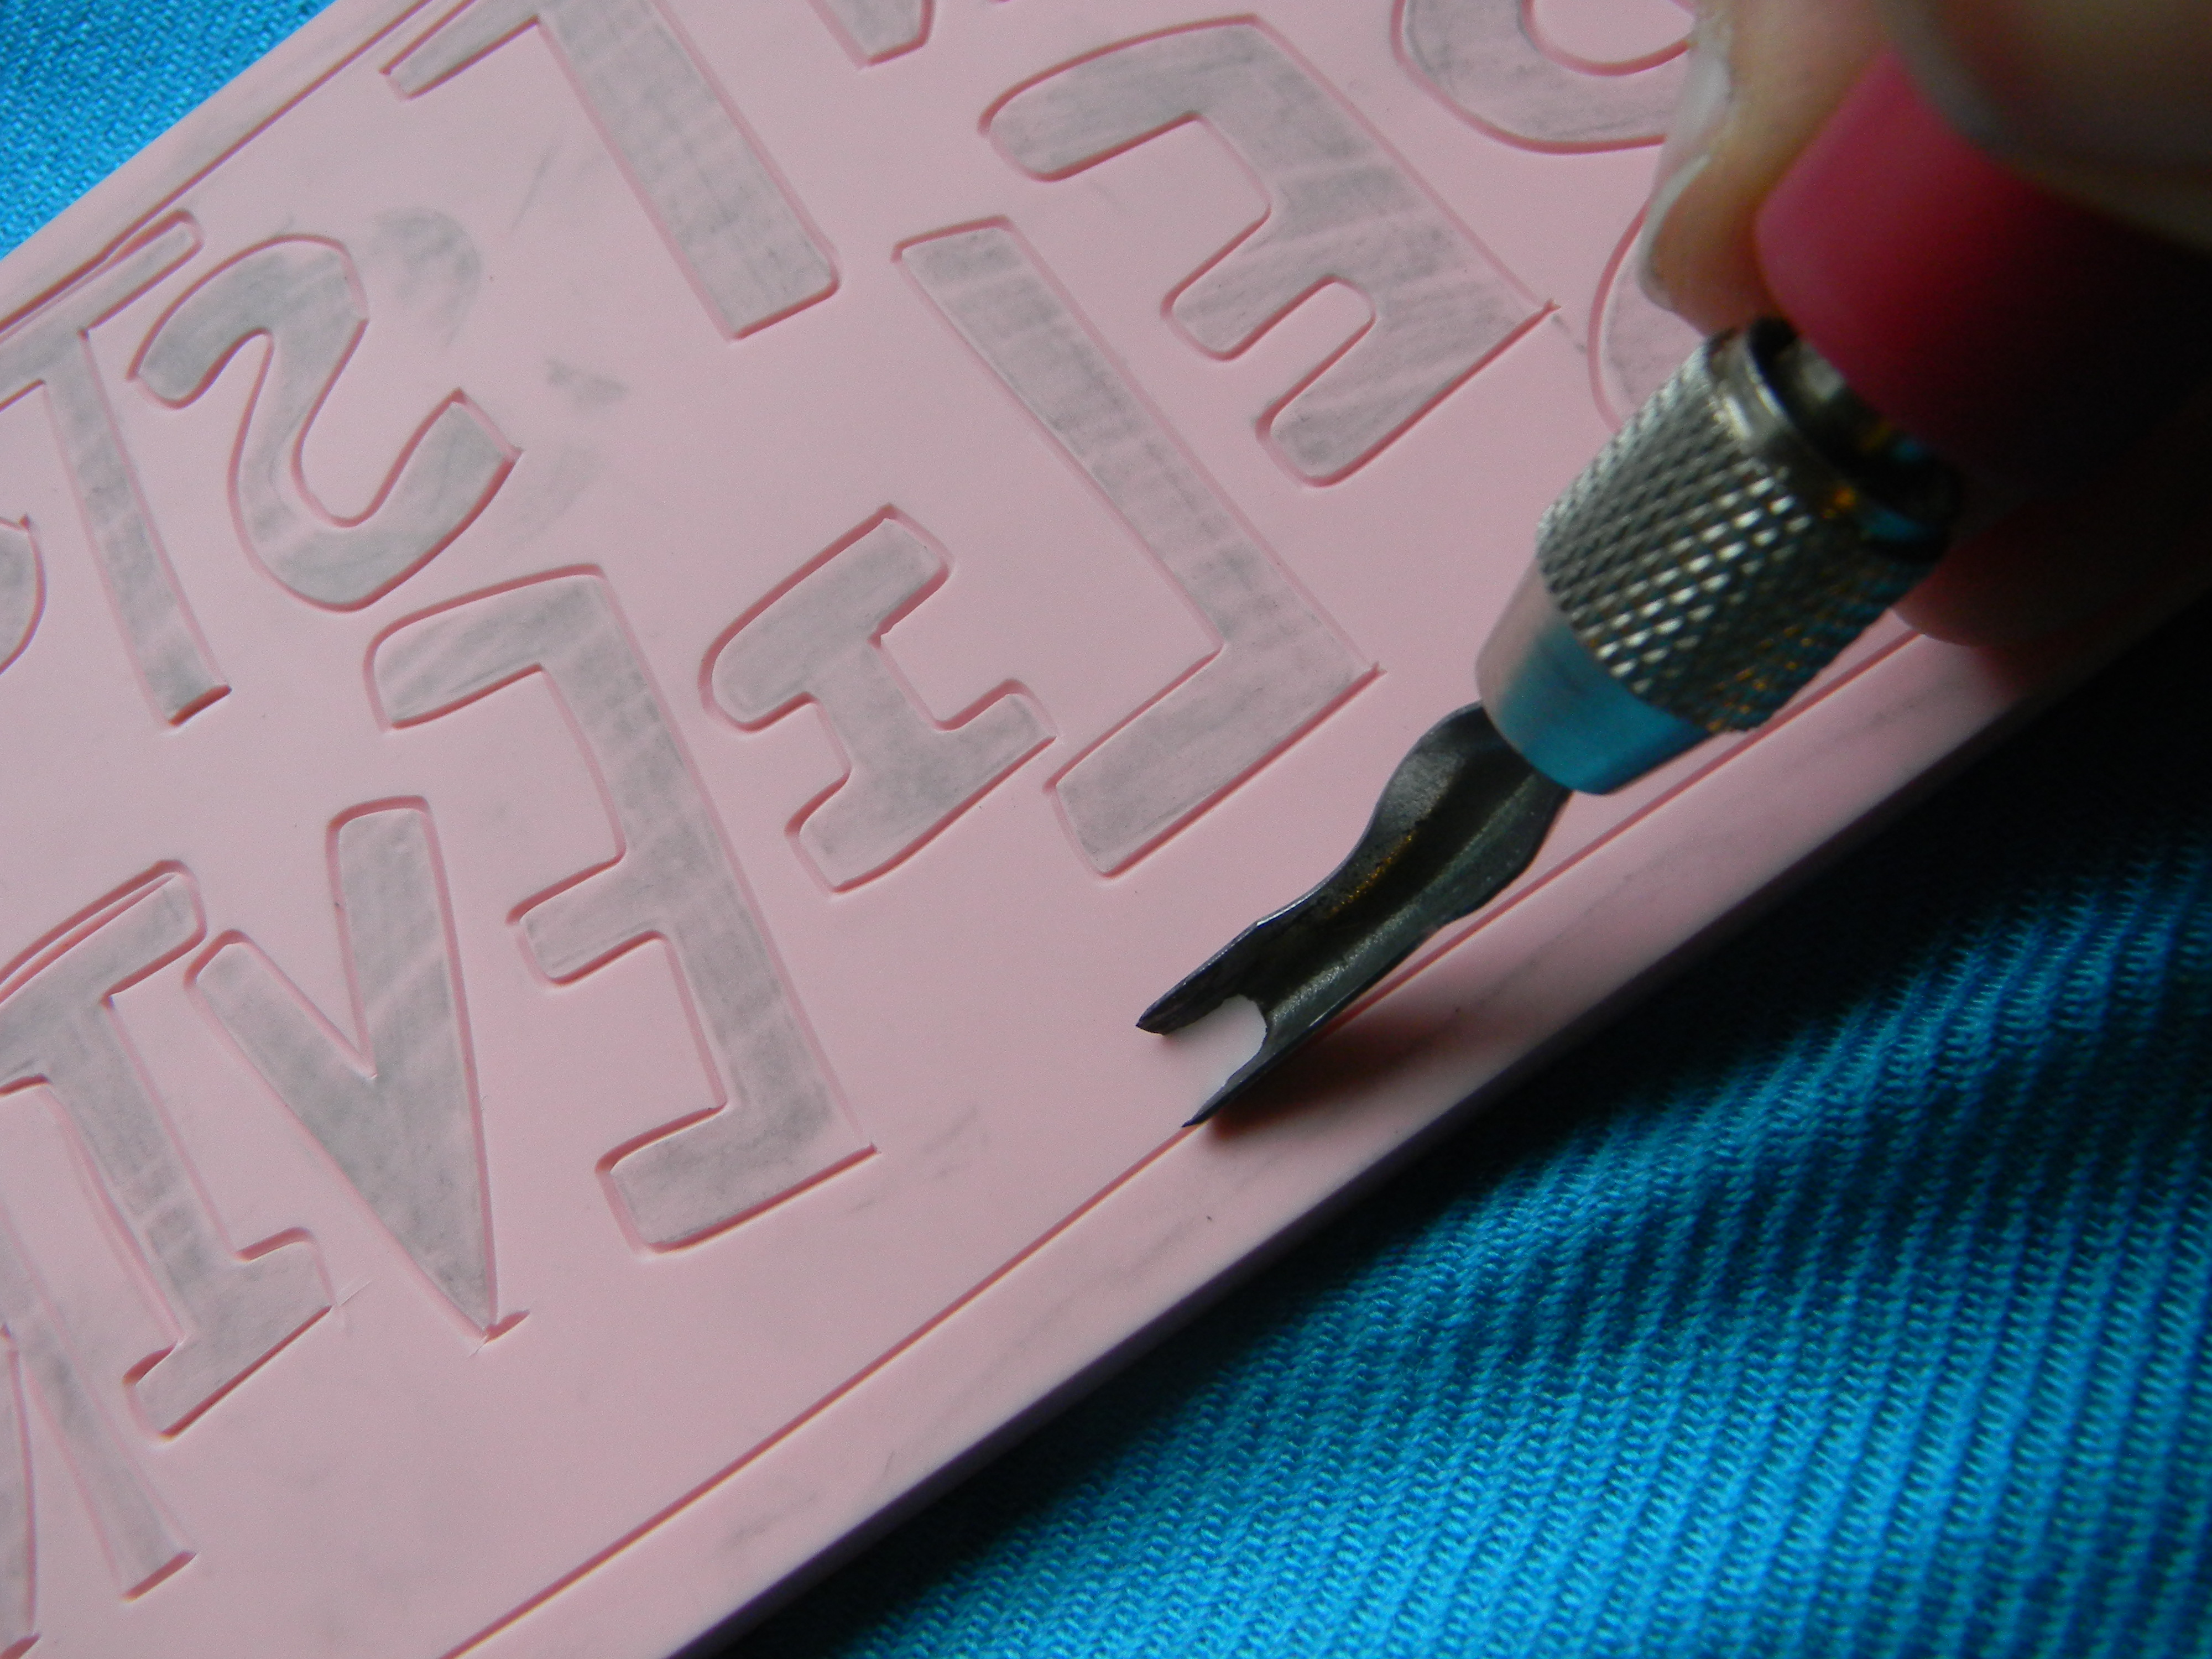
Keep going until you’ve cleared away the parts you don’t want to show up.
Remember, if you are planning to use both sides, don’t cut too deep.
In general you don’t have to anyway.
And now you have:

A carved out block.
At this point go back and look closely. There are points that you could not reach with the bigger ditch tool
Case in point:

So you can go back in with the smaller tool and clean things up a bit. THEN….
Before I go all paint and roller on this bad boy, I like to test it out with something a little easier, so I pull out a little stamp pad and drag it over the block a few times to get some color on there.

Then put it onto a piece of paper (pressing hard!) and see what you come up with!

I wish the test run were a little darker for you all, but that’s what I got. I noticed there were quite a few spots that I missed/will have to go back to get, seen from the close up of the test print:


Now, if you want it to be kind of speck-ish, that’s cool, that’s your choice, and THAT’S OK!
I sometimes feel specky, but other times I don’t.
On this one though, I’d like to be speck-free.
So this is the point in the show where I would put this one away and come back out with a nice cleaned up one all ready to print.
But that’s for another day.
Next time we’ll have the cleaned up version, and be inking it and making some prints!
One last tip before I go:
Do you have extra yogurt containers around?
I know I do.
The can come in handy!

When you are carving, you are going to have TONS of little carving pieces around.
If you are like me, you will be highly tempted to just leave them on your workspace and, when you finish, you will not have a workspace but a big mess.
And, if you’re like me, you won’t clean up the mess.
So I’ve solved that problem by having my handy dandy yogurt container around at all times.
I usually have a pencil in it too.
And that thing can hold a lot of carving pieces!
Ok, until next time, go out and make something, will ya?
KE

Um…you are AMAZING! I love, love, love your blog. Your writing style is so fun. And let’s just say I can’t wait for my little girl to read your books. Oh, and I am going to have to try and make one of these. I’ve always wondered how you did this! Thanks for sharing.